Where can you Donate a Bed Frame?
Americans throw away over 50k mattresses a day. Hence, to resolve the concerning issue of garbage, ecologists have come out …
Americans throw away over 50k mattresses a day. Hence, to resolve the concerning issue of garbage, ecologists have come out …
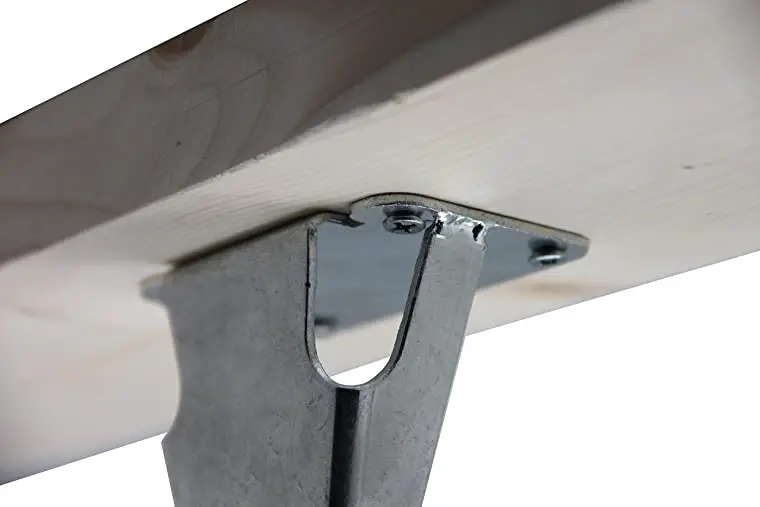
A bed with the right center support can make a big difference. The moment you attach supports to your bed, …
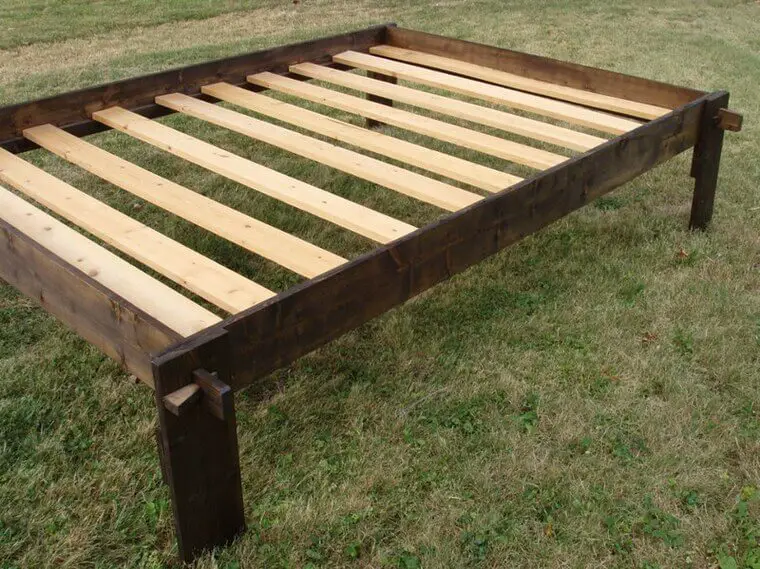
Wood is one of the most common materials used in constructing bed frames and head and footboards. It could be mainly …
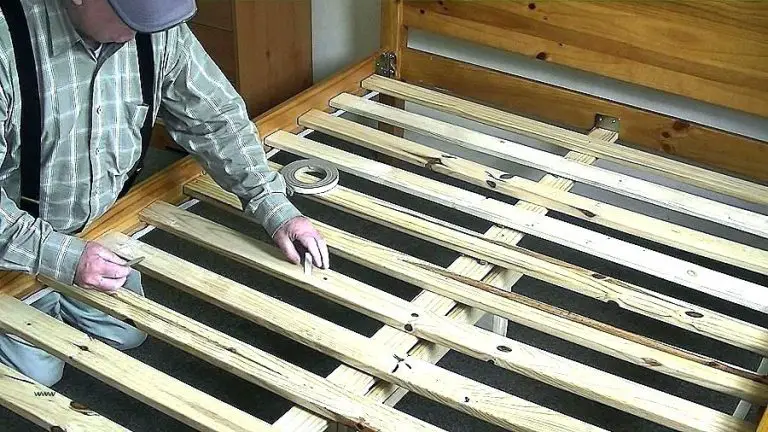
Fixing a broken bed frame can be a useful way to save some cash and a good way to spend …